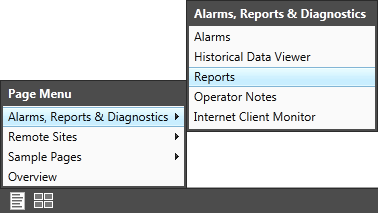
Open the Report Page
Open either menu (text or page) and look for folder, Alarms, Reports & Diagnostics. You'll find the Report Page there.

Paint by Numbers
There are five steps to create a report. Each is numbered in the Report Page. Do each in turn before clicking the Run Report button.
The first step is to select the report type from the drop-down list.

You can find a description of each report type in the online help. Look for the section: Operate Your Application >> Report on Collected Data >> Report Types Described.
Select Tags for the Report
This is easiest if named groups of tags have been created.
Otherwise, select from the filtered list of tags available for the chosen report type.
After selecting tags, you should consider saving them as a named group for the next time.

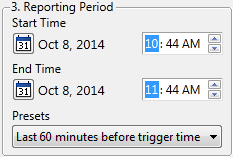
Set the Time Frame (Reporting Period)
Use one of the pre-sets or configure a start and end time of your choice for the report.

If you want the last hour, and also a report on the last hour before that, and so on, then set a number of previous periods (Step 4 on the page). This will create a series of consecutive one-hour reports rather than one report that includes several consecutive hours.
Choose a Destination and Options
You can format the report as a text file, a comma-separated values file, a spreadsheet or a database. For most formats, you also have the option of sending the report to the screen, to disk, to the default system printer, or away via email.
Email is available only if your system has been configured to connect to an email server.
Extra options are available if you have Microsoft Excel® installed.